 |
August 2004 Nitrogen
recharge of Active Struts - My Active suspension used to be harsh and it bounced when
it shouldn't. Now at last it's like new. I wish I did this years ago! |
|
September 2005 Cutting open the
UZZ32 Nitrogen Accumulator
Active Soarers have piston accumulators that leak nitrogen and cause the dreaded
suspension bounce. Here's one cut open with the faulty o-ring exposed before being
re-built. Perhaps all accumulators should be opened and res-sealed to make the job last. |
I bought a bunch of quality O-rings to reseal accumulators - I doubt I'll use them now. In
most cases I think cutting open the accumulator is the only way to keep the gas in for
more than a few months..
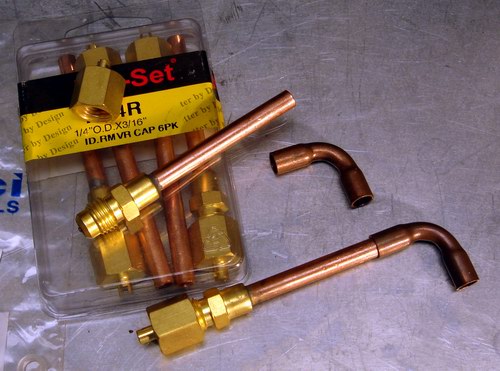
6 Schrader valves like this set from an air-conditioning supplies shop was $22. Cheap. But
the cores were only rated to 300 psi. Not good enough. It would be difficult getting the
required strength with no threaded fitting. Abandoned.
Other M5 fittings - none were strong enough nor would they fit under the front
accumulators. Abandoned.
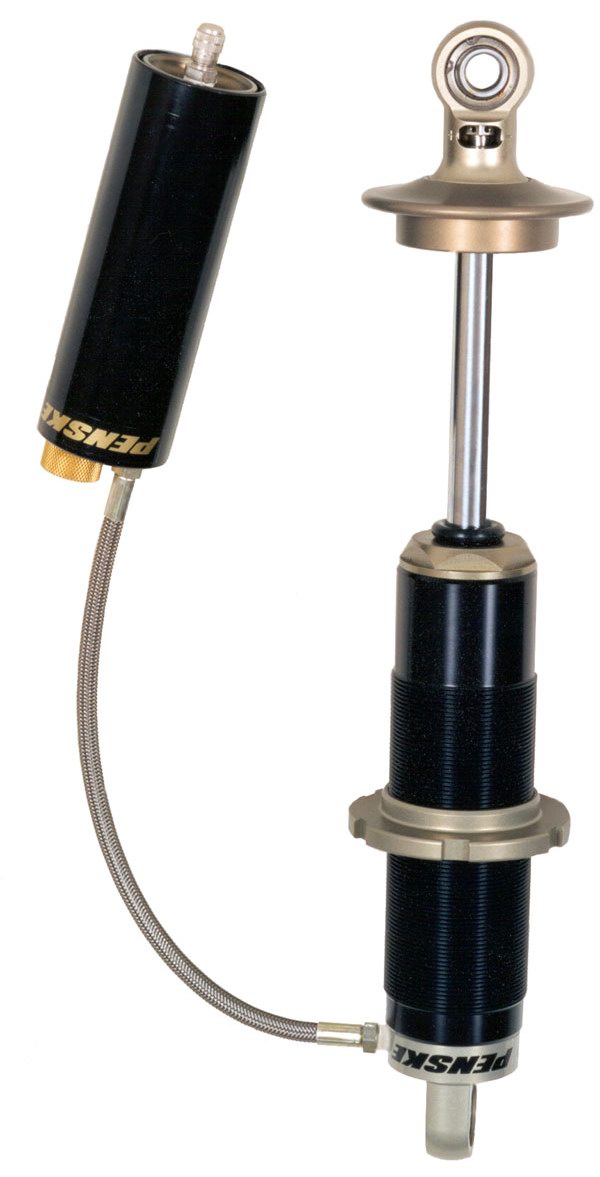
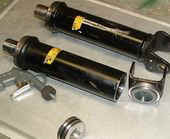
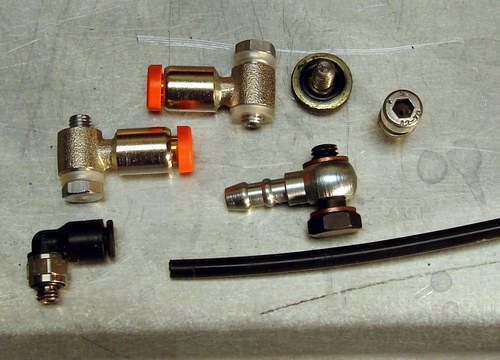
The Penske shock is ideal. All the fittings are threaded. This type of shock is fitted to
Superbikes - it comes with a dyno printout and costs $4000 - serious stuff indeed. I
talked to the local Penske race guy at length about my accumulator and what would work,
what wouldn't be so good etc. He could sell me stainless steel Schrader valves with a core
rated to 2000 psi. Top stuff. 1/8 BSP tapered threads and a metal screw cap. I checked
around and couldn't find them anywhere else. Sometimes I have to wait for the valves to
clear customs before getting them - so they obviously come from overseas.
The cut open accumulator has proved invaluable for testing ideas - and getting
measurements. This is the first prototype. Wasn't happy with the height of the hole, of
the size of the hole going into the accumulator - I imagined the piston getting damaged on
the sharp edges of the hole if it got that low.
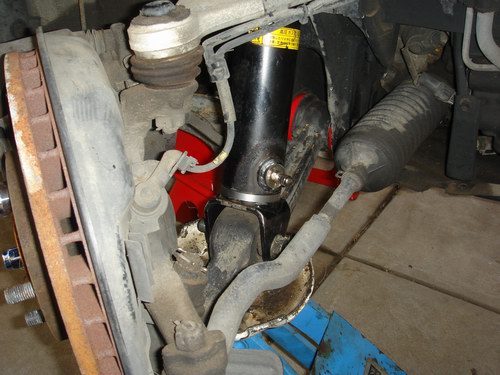
I tried the accumulator in all sorts of positions - valve facing frontward, facing
backwards.
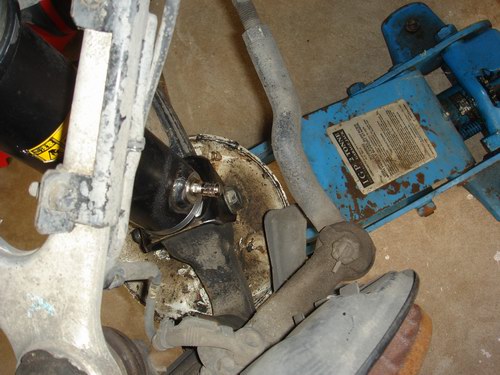
Wheel at full lock both ways. I was looking for access to the valve and making sure it
didn't hit anything. In the end I settled on facing forwards angled outwards.
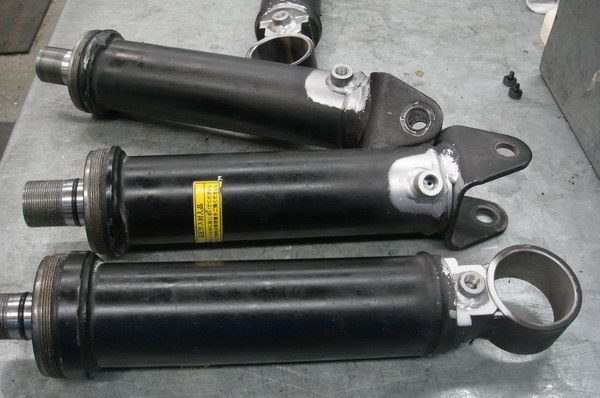
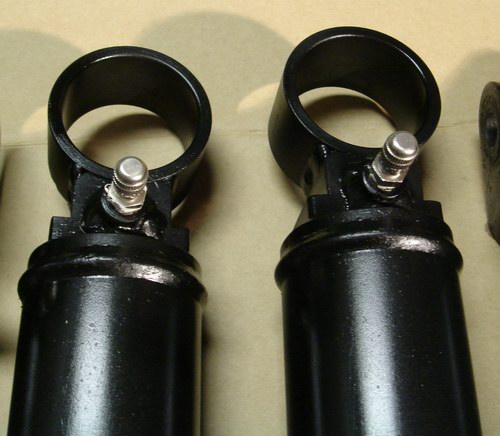
Here is the first set.. Four tabs welded on, then tapped and a small pilot hole drilled
through. The rear bushes were pressed out and replaced with new Andrew Vlamos
bushes. I had a major engineering company in Adelaide do the work for me. They have a
large premises with state of the art equipment - not that anything fancy is needed here -
but I like the professional way the workshop was set up and their approach to the job.
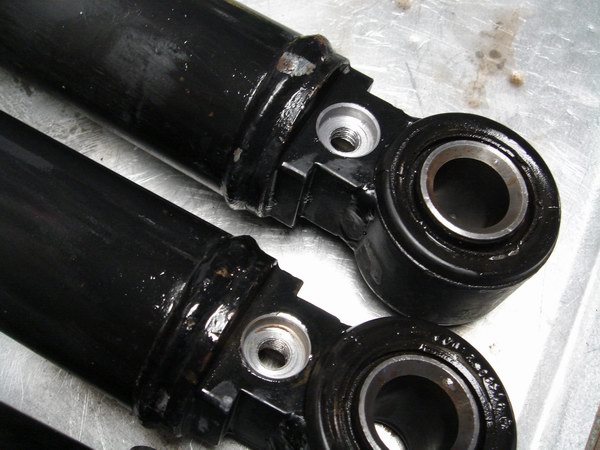
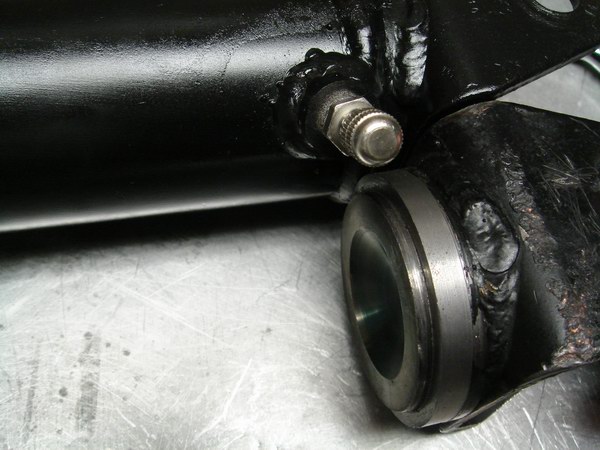
Note the new position of the small pilot hole. Very low and angled so it doesn't penetrate
the wall of the shock. The hole now misses the side wall and exits into the bottom bowl of
the end cap.

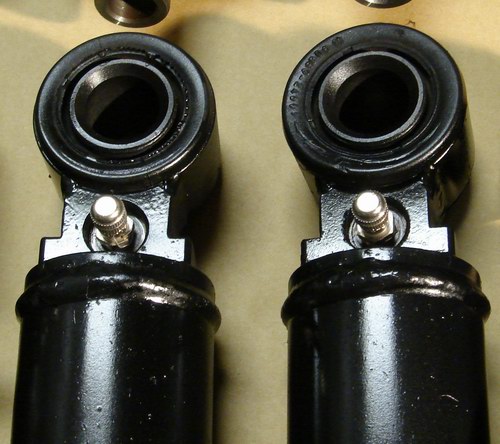
The second set I didn't get a tab welded on. There are eight threads available - plenty
of strength to hold the valve. The bush doesn't have to be pushed out either this way.
Andrew Hart in the UK did this to his accumulator - I thought it was a good idea.

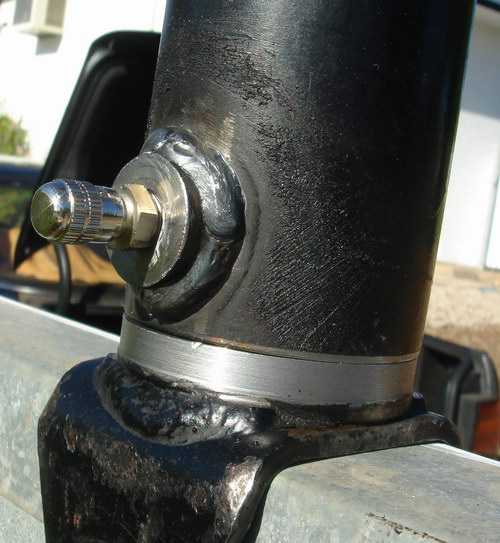
Nice and shiny front valves. I am very happy with the way they turned out. I am
confident that these will withstand the rigors of circuit racing.
The pilot hole was very carefully measured using the cut open accumulator. The pilot hole
now comes out in the dished well of the end cap - the piston cannot be fouled on sharp
edges now.
Welded tabs for the rear on this set.
Drill and tap holes for this set (going on my car).
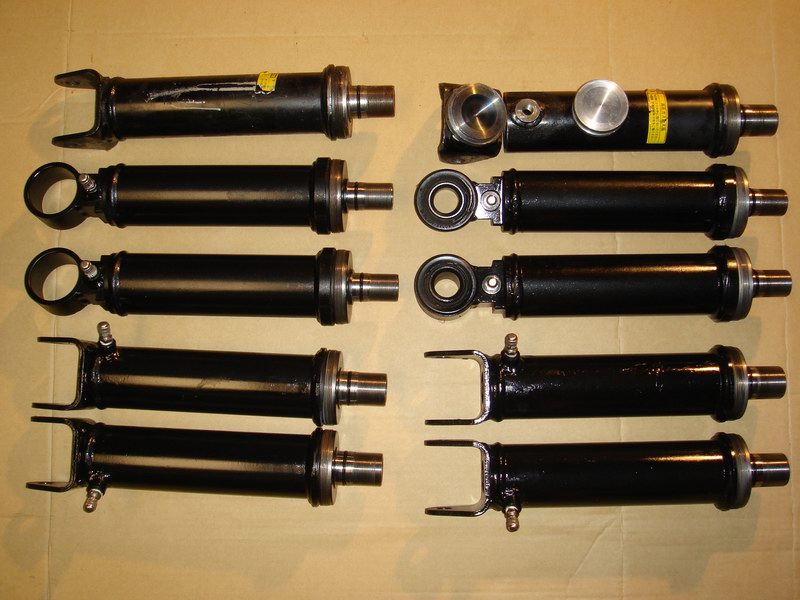
These are the first two sets I have done. I send the cut open accumulator along each time
to ensure the front pilot hole is in the right place.
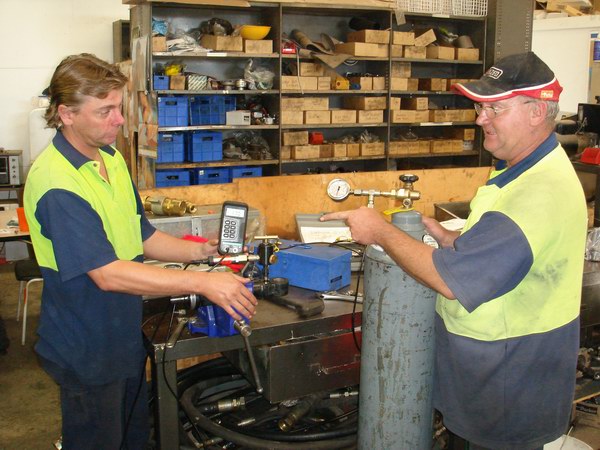
Next job was getting them gassed with nitrogen. 15 bar for the rears, and 17.5 bar for the
fronts. It was many many calls before finding a place to do the job. I finally found an
hydraulics company who could easily do the job.
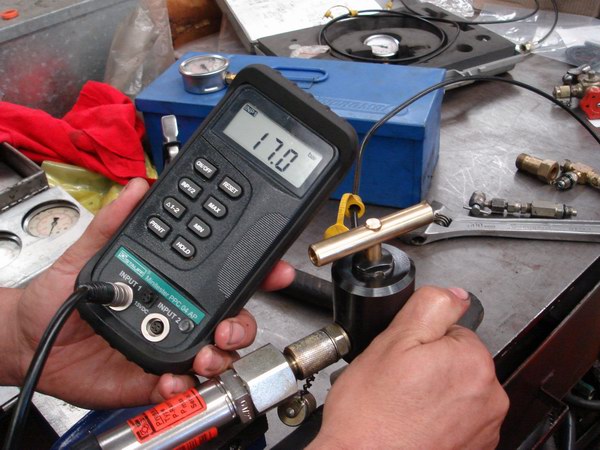
The equipment they used was far too expensive for the home enthusiast. The digital
pressure gauge, the silver injector looking thing and the black cylinder with the brass T
bar handle costs thousands of dollars. The T-bar handle depressed the Schrader valve core,
the nitrogen gas bottle opened to let gas in above the pressure needed, it was shut off,
then the gas drawn down to the correct pressure. The accumulators were tested to 50 bar.
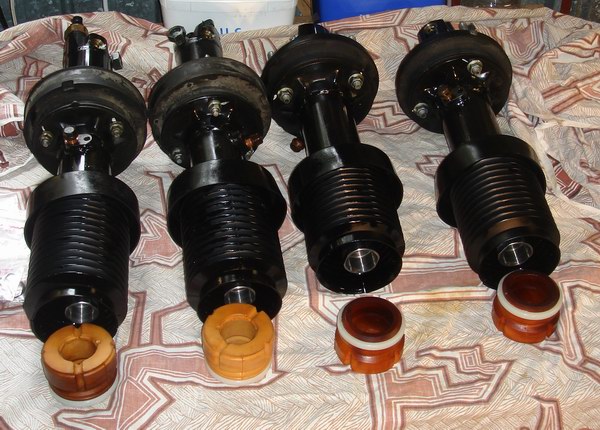
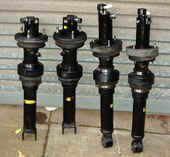
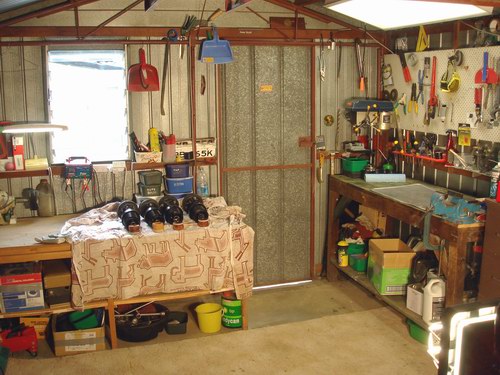
Rebuilt shocks waiting for regassed accumulators.
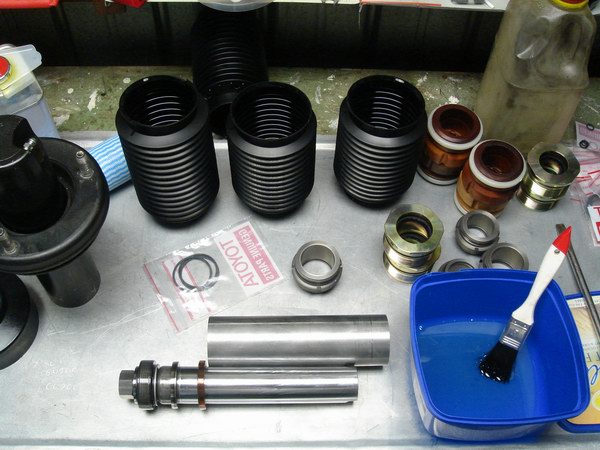
Lubing up the bits with new suspension fluid during assembly.
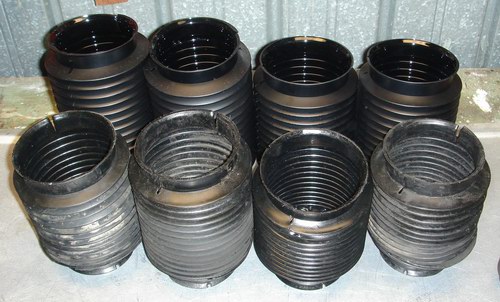
New and old boots. 15 years is long enough for these old ducks - a fresh set should last
another 15!
I have updated the page below showing the difference a regassed shock makes to the oil
coming out of the bleed valve.
back to Planet Soarer
|